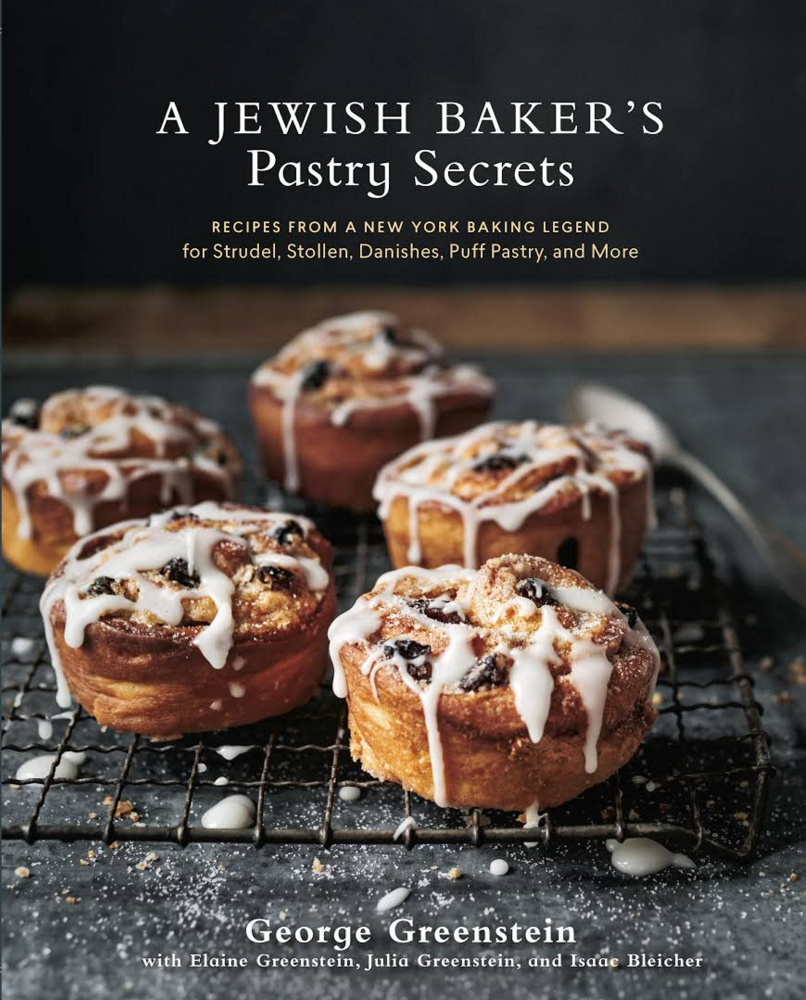
“A Jewish Baker’s Pastry Secrets.” By George Greenstein. Penguin Random House. Hardcover. 208 pages. $29.99
‘A Jewish Baker’s Pastry Secrets” is a posthumous compilation of recipes and expert baking advice from the late George Greenstein, who for more than 20 years ran The Cheesecake King bakery on Long Island, New York.
The cookbook is a sequel to his James Beard Award-winning cookbook “Secrets of a Jewish Baker,” which focused on breads. This second book concentrates on European-style pastries, offering recommendations on equipment, tools, ingredients and techniques for making about a dozen doughs – many of them Greenstein’s master recipes.
Each chapter features a different dough (bundt, strudel, gugelhopf, stollen, puff pastry and more) and begins with Greenstein family reminiscences about both the recipes and the bakery’s clientele. At times, I felt transported to the neighborhood as customers and delivery people dropped in to buy their favorite baked goods, often pausing to chat with George – his hands, forearms and baker’s apron covered with flour and sugar.
The book is liberally peppered with information boxes, offering novices helpful tips on how to better execute each recipe.
One huge drawback for me is that no images accompany any of recipes – not one sketch – to help bakers discern instructions or understand what the finished product should look like. When I’m on a journey, I need landmarks to help me arrive at the right destination.
Also, had I taken the time to thoroughly read the chapter on recommended equipment, I’d have known that the recipes were intended for stand mixers with a capacity of at least 5 quarts.
My poor little 4.5-quart and less powerful KitchenAid mixer struggled to keep up with the 10 to 15 minute mixing time needed to develop the dough for the Danish pastry I was trying to make. The unit got hot after just a few minutes and the dough was barely contained in the mixing bowl; it crept up, over the paddle hilt, and embedded in the crevices of the mixer head, requiring several minutes of deep cleaning.
Don’t repeat my mistake. Be advised that most of the recipes in this cookbook make big batches of dough, in keeping with a bakery operation, e.g., the book’s master recipe for Danish pastry makes enough dough for four individual recipes.
Thankfully, after all the work, these recipes freeze well. The home baker need only divide the dough into smaller portions and freeze them for future use, allowing each to thaw overnight in the refrigerator before using.
My Danish pastry batch yielded a very wet, sticky dough. I panicked, thinking I’d done something wrong, so added more flour than called for and increased the mixing time. Now I had a tight, unyielding dough that was nearly impossible to roll out.
Since I knew that continuing to work the dough would make the pastry tough, I moved on to shaping the danishes. But they lost their shape during baking, and adding insult to injury, their edges got too dark.
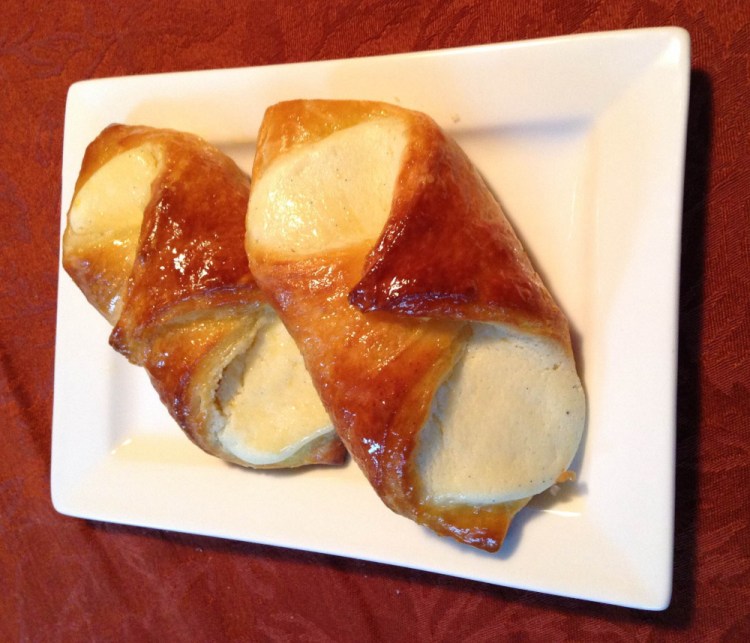
The silver lining? Somehow, the flavor and texture were spot on – the outside crisp and the interior tender and delicious, with just a hint of orange rind. With so much potential, I just had to give the recipe another try.
On my second attempt, I allowed the dough to remain soft, adding just enough additional flour to form a ball that barely cleared the sides of the mixing bowl. This batch remained soft, supple and easy to work with through the successive roll-out and folding sessions required to build its laminated layers.
When I finally sampled the finished pastries, I was pretty sure after just one bite that my favorite bakery uses this dough for their cream horns. Good timing – my order for extra-large cream horn molds had just arrived.
I also tested the cookbook’s recipe for cinnamon babka, which produced a dense cinnamon roll-style loaf, filled with swirls and crags of pecans and a gooey almond schmear.
The babka received lots of positive feedback from co-workers. And I will certainly be frequenting chapter two for its abundant selection of fillings, toppings and glazes. The cheese filling for the Danish – which uses cottage cheese – and the babka’s butter streusel were delicious.
“A Jewish Baker’s Pastry Secrets” would appeal to novice bakers who like a serious challenge or moderate to experienced bakers, who are used to working with European pastry doughs and desire to perfect their skills.
DANISH PASTRY DOUGH (master recipe)
Bakers: Be aware that the recipe requires a large mixing machine with a powerful motor and several hourly roll-out and folding sessions to properly build the dough’s many layers.
This makes enough dough for 4 individual batches.
3 tablespoons (or 3 packets) active dry yeast
1/2 cup warm water (95 to 115 F)
1 cup whole milk, cold
7 eggs
3/4 cup granulated sugar
6 tablespoons butter, softened, plus, 2 cups for roll-in
1/3 cup non-fat dry milk powder
5 3/4 cups unbleached, all-purpose flour, plus additional flour as needed
11/2 cups cake flour
1 tablespoon kosher salt
Finely grated zest and juice of 1/2 an orange
Vegetable oil for brushing
Flour a half-sheet (18 x 12 inch) pan. In the mixing bowl of a stand mixer, fitted with paddle, sprinkle yeast over warm water to soften. Add milk, eggs, sugar, six tablespoons softened butter, milk powder, flours, salt and orange juice with zest. Mix on low, pulsing slowly at first to avoid contents flying out of bowl.
When flour is fully incorporated, stop motor and scrape down bowl using a scraper or rubber spatula. Mix 10 to 15 minutes on low. After 10 minutes, if dough has not come away from sides of bowl to form a ball, add in a bit more flour – 1/4 cup at a time – until a soft, loose ball begins to form.
Do not add too much flour. Dough should be very soft. Remove paddle and cover dough with towel or plastic wrap. Allow to rise until doubled in volume, 45 to 60 minutes.
Deflate dough and turn onto the prepared baking sheet, pressing dough to flatten out. Cover loosely with floured cloth or plastic wrap and refrigerate 30 to 45 minutes.
While dough is chilling, prepare remaining 2 cups of butter for roll-in. Cut it into 1-inch cubes. Put in a clean stand mixer bowl, fitted with paddle and pulse a few times to break up butter, keeping it cool yet spreadable.
Turn the dough out onto a floured work surface, lightly dusting the top with flour and roll it out to a 24 x 12 inch rectangle. Gently pick up and move the dough occasionally, in a sliding motion, to ensure it isn’t sticking. Add a bit more flour as needed, using just enough to prevent sticking. Always brush off excess flour off the top to keep dough tender.
Spread the prepared butter over two-thirds of surface, leaving a 1-inch border all the way around. Fold the unbuttered third section of dough up over the buttered center. Brush off excess flour and, then fold over remaining buttered section.
Turn dough a quarter turn, so that it is facing you. Dust with flour and roll dough out again to 18 x 24 inch rectangle. Brush off excess flour. Fold into thirds. Place on floured baking sheet. Cover and refrigerate 30 to 45 minutes. Repeat instructions for two more roll-and-folding sessions. On the third and final session, roll dough out to 32 x 18 inches.
Brush off excess flour and do a four-fold, bringing both ends in to meet at center then flipping one end over the other, like you’re closing a book. Return dough to the well-floured baking sheet. Use rolling pin to gently press and coax dough to fill the pan. Brush lightly with vegetable oil so dough doesn’t dry out. Cover with plastic wrap.
Place in coldest part of refrigerator to chill overnight. (Baker’s tip: Freeze dough for 30 minutes to slow rise before proofing overnight in refrigerator.) At this stage, the dough can be cut into quarters and used immediately or wrapped and frozen.
CHEESE DANISH
Makes 12 pastries
1/4 portion of master Danish dough recipe
1 egg
1 tablespoon water, for egg wash
11/2 cups cream cheese filling (see recipe below)
Sliced almonds, optional
Quick Danish Glaze (see recipe below)
Line two 18 x 12 inch sheet pans with parchment paper. On a floured surface, roll out the dough in an 17 x 17 inch rectangle. Trim edges, using a clean yardstick and sharp knife or pizza wheel, to bring dimensions to 16 x 16 inch even square. Cut this into 12 four-inch squares.
Place a rounded tablespoon of filling at center of each square. Lightly beat the egg and water to create egg wash and brush corners of each square. Grasp two corners diagonally opposite each other. Stretching slightly, bring the first corner end over and just beyond filling. Press down firmly to seal. Bring the other end over and seal once more, pressing hard to ensure they don’t open up during baking.
Repeat with remaining squares. Allow to rise until doubled in size, about 45 minutes.
Gently brush Danishes with egg wash. Bake in a preheated 375 degree oven for 35 to 40 minutes. Remove from oven and immediately brush with hot Danish glaze. Cool on a wire rack. Store leftovers, covered tightly, at room temperature.
CREAM CHEESE FILLING
Yields 3 cups filling
1 cup cream cheese, at room temperature
1/2 cup plus 2 tablespoons granulated sugar
2 cups small-curd cottage cheese
3 tablespoons unsalted butter, at room temperature
1/4 teaspoon kosher salt
1 egg yolk
1/2 cup unbleached all-purpose flour
1/8 teaspoon pure vanilla extract
Add cream cheese and sugar to a stand mixer bowl, using paddle to lightly cream. Add cottage cheese and mix until just combined.
Add remaining ingredients, beating just enough to incorporate without aerating. Cover and refrigerate until needed.
QUICK DANISH GLAZE
1/2 cup apricot jam or orange marmalade
1/2 cup water
Combine in small saucepan, bringing to a simmer over medium-low heat.
Use while hot.
Send questions/comments to the editors.


